How to Install The Keel of Outdoor Landscape WPC Flooring?
As a new polymer composite material, outdoor landscape WPC flooring is applied wider in our daily life. Its excellent anti-corrosion, mildew resistance, aging resistance, and non-fading and non-deformation characteristics have been recognized by the majority of users. When installing outdoor landscape WPC flooring, the keel is an indispensable key accessory; So, how do we install the keel of outdoor landscape WPC flooring?
What Is WPC Flooring?
The cross-section of WPC flooring can be divided into two categories according to profiles. WPC flooring is a new type of Environmental protection WPC composite product. Wood powder is added in the process of producing high-density fiberboard, WPC composite is made through granulation equipment and then extruded into WPC flooring. As a commonly used WPC composite material, WPC flooring has been very fine after more than ten years of development. WPC flooring is classified into sections according to profiles, including solid floor and hollow floor. A solid floor has a larger self-weight than a hollow floor. The hollow floor adopts the hollow structure, and the self-weight is much smaller.
If you are looking for a high-quality WPC flooring material, Oakio can be your first choice. Oakio, a manufacturer with its roots in WPC materials, has a reputation for high quality products, so why get a free sample to try now?
How to Install the Keel of WPC Flooring?
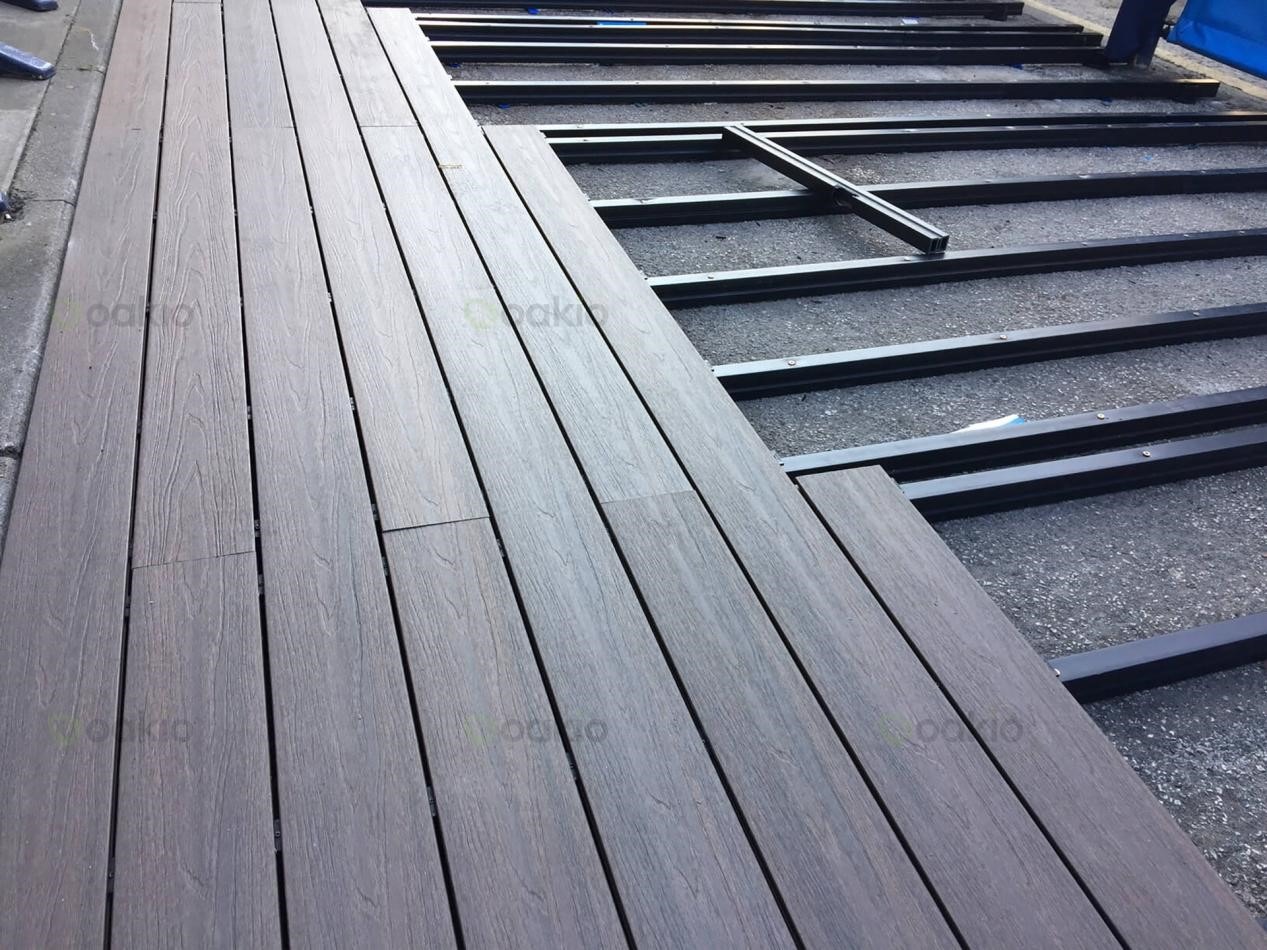
When installing the keel, the distance between the keels generally depends on the thickness of the WPC flooring; When the thickness of WPC flooring is less than 25mm, the keel spacing shall not exceed 250mm, and the maximum keel spacing shall not exceed 400mm. Generally, when installing the keel, we will encounter the following ground conditions:
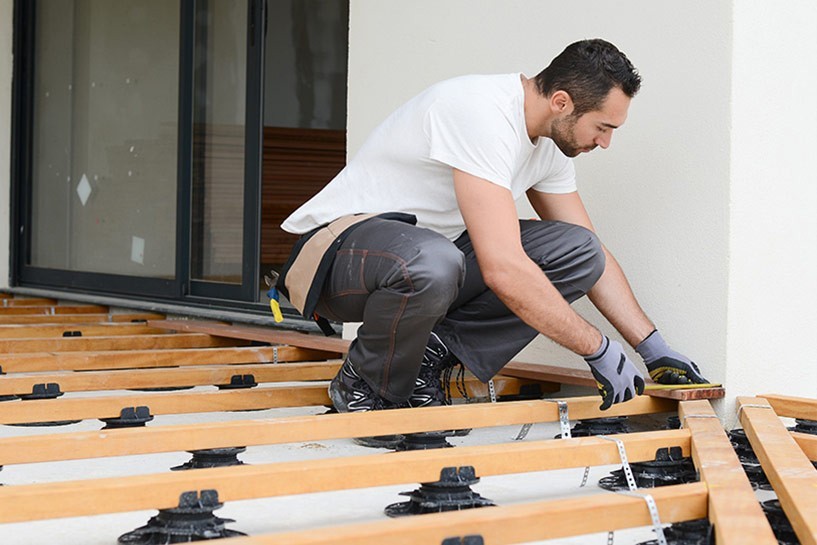
Step 1: If you install brackets in the walkways of ponds/lakes, parks, and landscape ecological agricultural crop parks, plants need to be taken care of. It is not possible to pour concrete in a large area in the lake drainage area. You can directly install the galvanized screws underground, and then weld the galvanized pipe keel to the ground. If it is installed on a lake, pond, or a place with high humidity, it is recommended to use a hot-dip galvanized square pipe to avoid corrosion.
Step 2: Concrete foundation on the ground; The concrete shall be flat, and the concrete thickness shall not be less than 8mm; Therefore, we can directly fix the WPC flooring keel on the concrete floor with a plastic expansion plug.
Step 3: If the installation surface of the pure soil floor and WPC flooring needs to be raised, we can first dig the foundation pit and bury the concrete and galvanized pipe column. Generally, the diameter and depth of the foundation pit shall not be less than 300mm, the specification of galvanized pipe for column shall not be less than 60*60mm, and the pipe wall thickness shall not be less than 2mm. The column spacing shall be controlled within 1800mm; After the column is embedded, the galvanized pipe keel shall be welded on the column. The recommended specification is above 40*60mm.
Conclusion
In a word, the installation of the keel for outdoor landscape WPC flooring is a critical process that demands attention to detail and adherence to specific steps. By carefully selecting the right materials, preparing the installation area, ensuring proper spacing and alignment, and using the correct tools and techniques, you can achieve a stable and durable foundation for your WPC flooring. This solid base not only enhances the longevity and aesthetics of the outdoor landscape but also ensures safety and functionality. Remember, a successful installation is key to maximizing the benefits of WPC flooring, making your outdoor space both beautiful and practical. Also if you are looking for the high-quality WPC decking manufacture, contact us to get the free sample today!
Trending Reading
What Are the Differences Between the WPC Board and PVC Board?
[2024 Update] How Long Does WPC Decking Last?
